Monday, March 24, 2014

Zion artist in residence


I have a neat opportunity taking place this year that carries into next year as well. Here at Southern Utah University where I attend college, there is a program designed for students called the "student artist in residence" in Zion National Park. Zion National Park hosts about 4 working artist throughout the year and then display their art in Zion's gallery space. But then once a year a student is chosen to take a week long residency in Zion. 

This year I was chosen to be the student artist in residence. I was really interested in perusing this opportunity for the experience and challenge. For the application process we had to create a proposal and submit some of our current artwork. My idea/proposal is "Get Connected." I want to illustrate ways people connect with nature, specifically in Zion National Park. In a way my idea is a play on words because in this technological time we all seemed to be connected to our technology and gadgets but less and less people are taking the time to connect with nature. So in my artwork I am going to depict people interacting and connecting with nature. I proposed to create about 30 images for my final show in March of 2015. My medium will be primarily relief printmaking. 

It has been a wonderful experience so far! Staring March 7 through March 16 I lived in Zion. 9 days of living in the national park, gathering inspiration and reconnecting myself with nature. I was able to live in the historical Grotto cabin in the middle of the park. It's was beautiful and more then I was expecting. In the mornings and afternoon the park was packed with people. That really helped me get a lot of pictures of people. But in the evenings, the parked emptied out and was really quiet. There were deer and other wild animals all around. We saw wild turkeys, mountain goats, lots of lizards and foxes. Being from the city I don't get to see very many of these animals. 

Now that I'm back in the studio, I'm working on getting my images composed and colors planned out so I can start carving. I have a few more weeks before I graduate and finish my BFA program, then I will be able to concentrate my full efforts on this project. 

Keep an eye out for more updates and progress on my Zion project! 


Tuesday, February 18, 2014

8x4 Print PRINTING!!

And the epic quest draws to a close!
As the months rolled on, completing my print started becoming more of a reality instead of a far off distant wish. 

Carving carving and more carving. When I started printmaking I remember hating carving because it hurt my hands and I didn't really know what the image would look like when it was printed. Now I really like carving, it comes with experience but its really relaxing!


Here it was almost done. I had all of my details printed and I had inked up one side so I could visualize a bit more what the image would look like in just black and white.


And then... TADA!! I inked up the whole image to make sure everything looked the way I wanted. 


And with that, it was finished!! Carving: check. Next step, printing.


So taking advantage of my day off from school because of Presidents Day, I made it my printing day. 


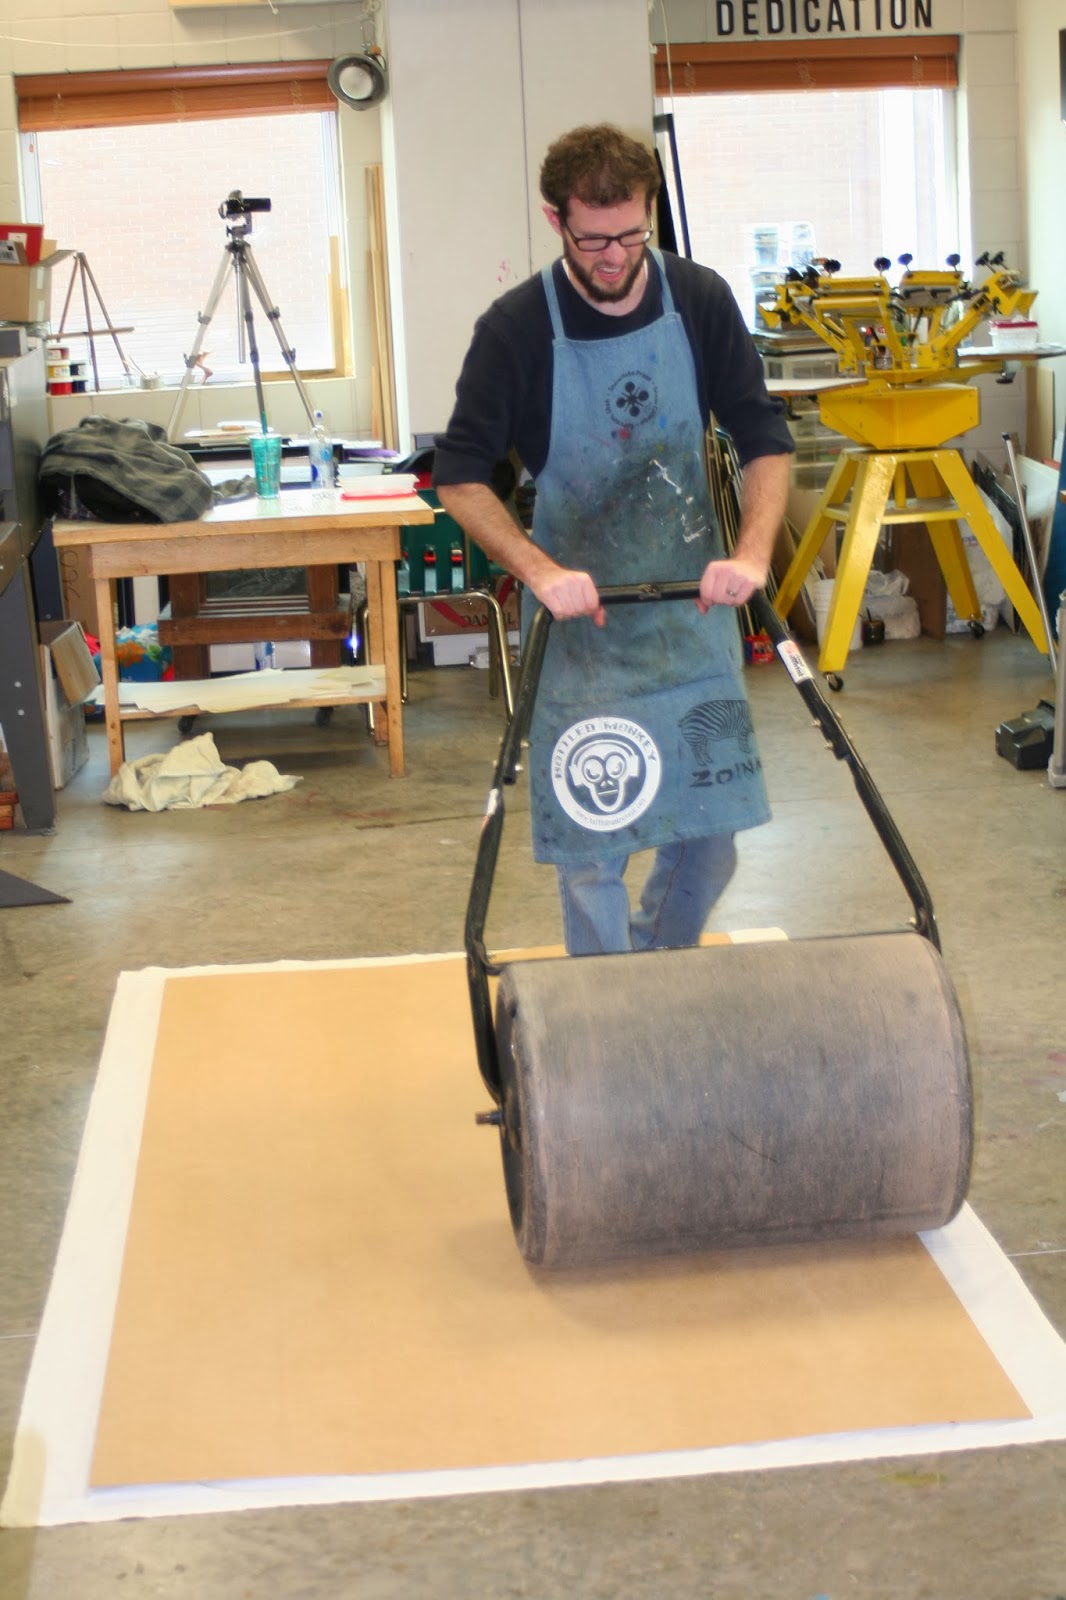
I had to figure out how to print this large print without a press because, obviously, of its size. I thought about creating a steam roller event but because I carve with Sintra which is softer then plywood I figured the pressure from the steam roller would crush my image. So I had to come up with another way. My solution: a sod roller I rented from Home Depot for $16 for 24 hours.


This method worked pretty good. I filled the drum up with water which made it really heavy and then I just walked it back and forth. I purchased a thin sheet of Masonite so that the small scratches wouldn't damage my print.


And the moment of truth!...


Nope. Too light.


I think the big issue was the type of ink we were using. For this first print I was using tubed ink which works really great when you're running a print through a press, yet not so well for this process.


Try again. We switched inks with ink we had in a can which already seemed to be better.


Round 2. I decided that it would be much cheaper to print of fabric and bed sheets then buying lots of paper so most of the prints we made were on fabric. but I did get paper so that I would have some of paper.


The challenge with fabric is the wrinkles and making sure it lays down flat.


With 2 people holding the top down and making sure it doesn't move, we had a few other people smoothing the fabric down


Rolling and rolling....


and then....


Yes!! Success! The different ink really helped the image.


The challenge of an 8 foot print is finding space to let the prints dry after printing. We ended up stringing them up to the rafters and holding them with clothes pins. That was an added blessing because then I could stand back and sigh with relief that it was done!


Hahaha but don't jump the gun too soon, it is far from being done!! That day I ended up printing 11 or 12 in total. I printed 5 on fabric for myself and I created an edition of 3 on Stonehenge paper. Then I printed 3 Printers Proofs for those people who were helping me. It took us all day; we stared printing around 1-130pm and got done at 7, so almost 6 hours of printing. By the end of it we were all tired of being on our feet and felt like we had  benched pressed 1000 lbs. Worth it? Most definitely!


Would I do this again? I had a blast doing this and so it was definitely worth the experience and portfolio piece. But maybe the next large print I do will be more my size. I think the next large ambitious print I will tackle will be 6 foot.


Thanks to Darrin, Jennessa, and Gina, my printing crew!! I couldn't have done it without you! And a special thanks to my beautiful wife Kayla for all her support and help!!


Thats all folks!


Friday, February 14, 2014

Valentine Print

My new holiday print for the love season. "Be Mine" is a silk screen print on handmade paper. The paper is old torn up test prints and misprints, so I took advantage of this recycled material and printed on it. I am really happy how the color and texture of the paper turned out. 

Wednesday, December 4, 2013

New Holiday Print

A few printmakers here at school decided to re-create the printmaking guild and host seasonal print sales to show off our work and sale prints for extra money. Before finals approached, we had our Christmas print sale. I actually didn't get this print ready for the sale but it turned out great (in my biased opinion :D) so I wanted it to share it!


I had already laid down the first 3 colors and am now working on my 4th. Im rolling out the ink on a sheet of glass with a brayer then rolling it over my carved image.


This is the image before my current color. It a seasonal print. 


Here is how I keep the colors lined up. I got this idea from another blog, Tugboat Print shop, when I employed my woodworking skills to create this jig. I set my carving into the corner of the wood jig then I place the paper on top of the carving in its own groove I cut out. The image should fall in the same place every time, in theory :D Practice is required. Over all I lined up all of my colors really well; Its been a great registration system for me.


Now we're ready to run through the press. Oh, but don't forget to take the wood jig away; you don't run that through the press. Once the paper is in place it slides away really easy.


Now through the press


Here we go! 4 colors down and one more to go!


 The colors are looking great. It one of the more colorful prints I have ever done.


This is the final print. The title is "Happy Hallothankmas" Like I mentioned above, I was trying to get this done for our Christmas print sale and as I was gathering ideas for prints I would make for the sale, I came across a comic strip someone had created where a turkey was dressed up in a jack-o-lantern wearing a Santa hat holding a sign saying "happy hallothankmas" which I thought was awesome! So I decided I would create my own rendition. TA DA! This is for this crazy time of year when all the holidays seem to merge together. And to all of you, this holiday season "Happy Hallothankmas!"

Also; if you are interested in this print or any other you see here on my blog, these prints are available for purchase on my Etsy Shop at https://www.etsy.com/your/listings?ref=si_your_shop Thanks!!

Wednesday, October 23, 2013

Happy Halloween!

Its Halloween time and I decided to make some Halloween prints to sell!
First I created a Zombie who's name is "Fester Armeater" There are 2 editions of this. The first is an edition of 25, black and white. The second edition is 6 and its a brown grey color. Ill have to get a picture of it and add it to the post.


Then I noticed he was lonely and needed some friends so I created Dracula, Frankenstein, and a skeleton. 


and last but not least, my personal favorite!! Get ready for some Halloween humor; it's really punny! 


I decided to make a Halloween card. Its a zombie dog with a bone in its mouth, then on the inside it reads "I found this humerus."  The edition size is 12. 

If you see anything you like, feel free to contact me about the price. I will also be posting them to Etsy shortly, so you can keep your eyes open for that too. 

Wednesday, July 3, 2013

New Art Show at The Grind Coffee House

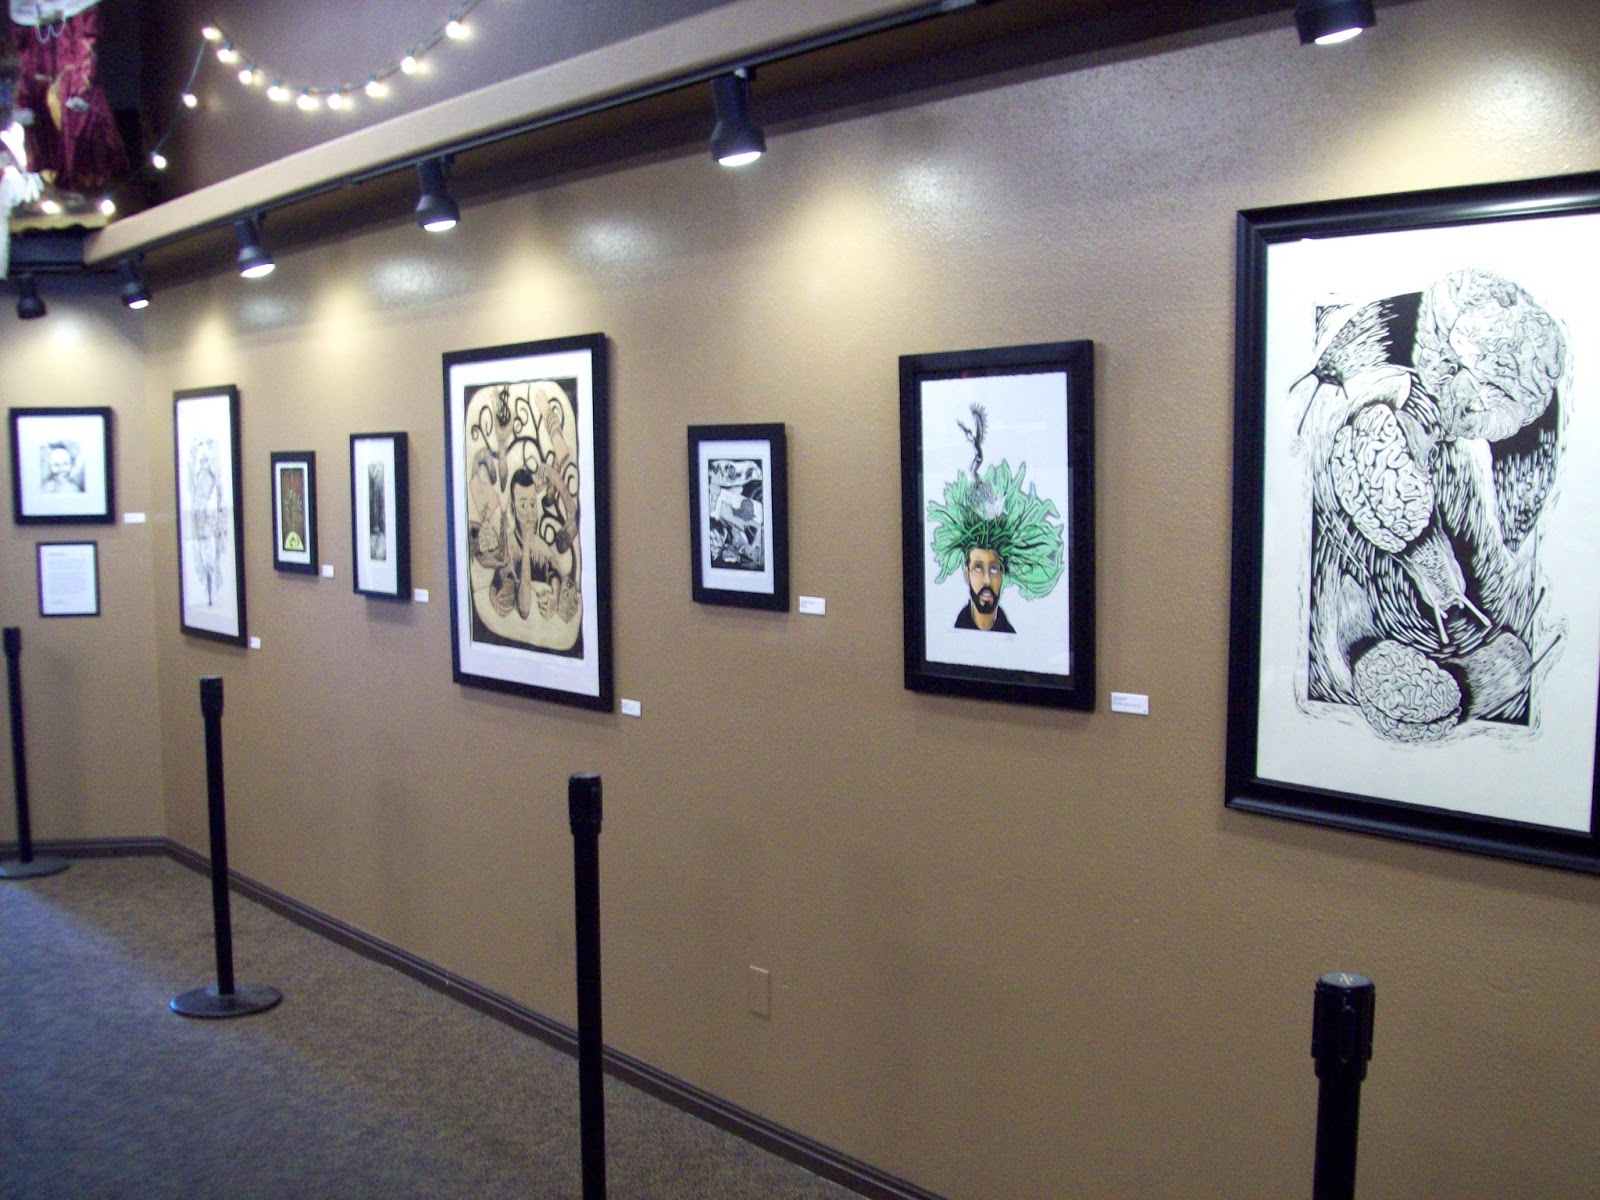
For the whole month of July, some of my prints will be hanging in The Grind Coffee House in Cedar City Utah. I'm excited for the opportunity to show my work in the community and hopefully there will be a lot of people who will pass through and see my work. So if by chance you're passing through Utah and are in Cedar City for the Utah's Summer Games, or The Shakespearean Festival within the month of July, come stop by The Grind Coffee House on Main Street, grab a cup of coffee and check out my work!


I have 9 pieces hanging.


"Less Think, Do More"


"Between Life and Death"


"Courage Even In Darkness"


"Distractions"


"Snail Shenanigans"


"Gastropods"
I also have "Self Portrait" hanging but my pictures of it came out blurry.